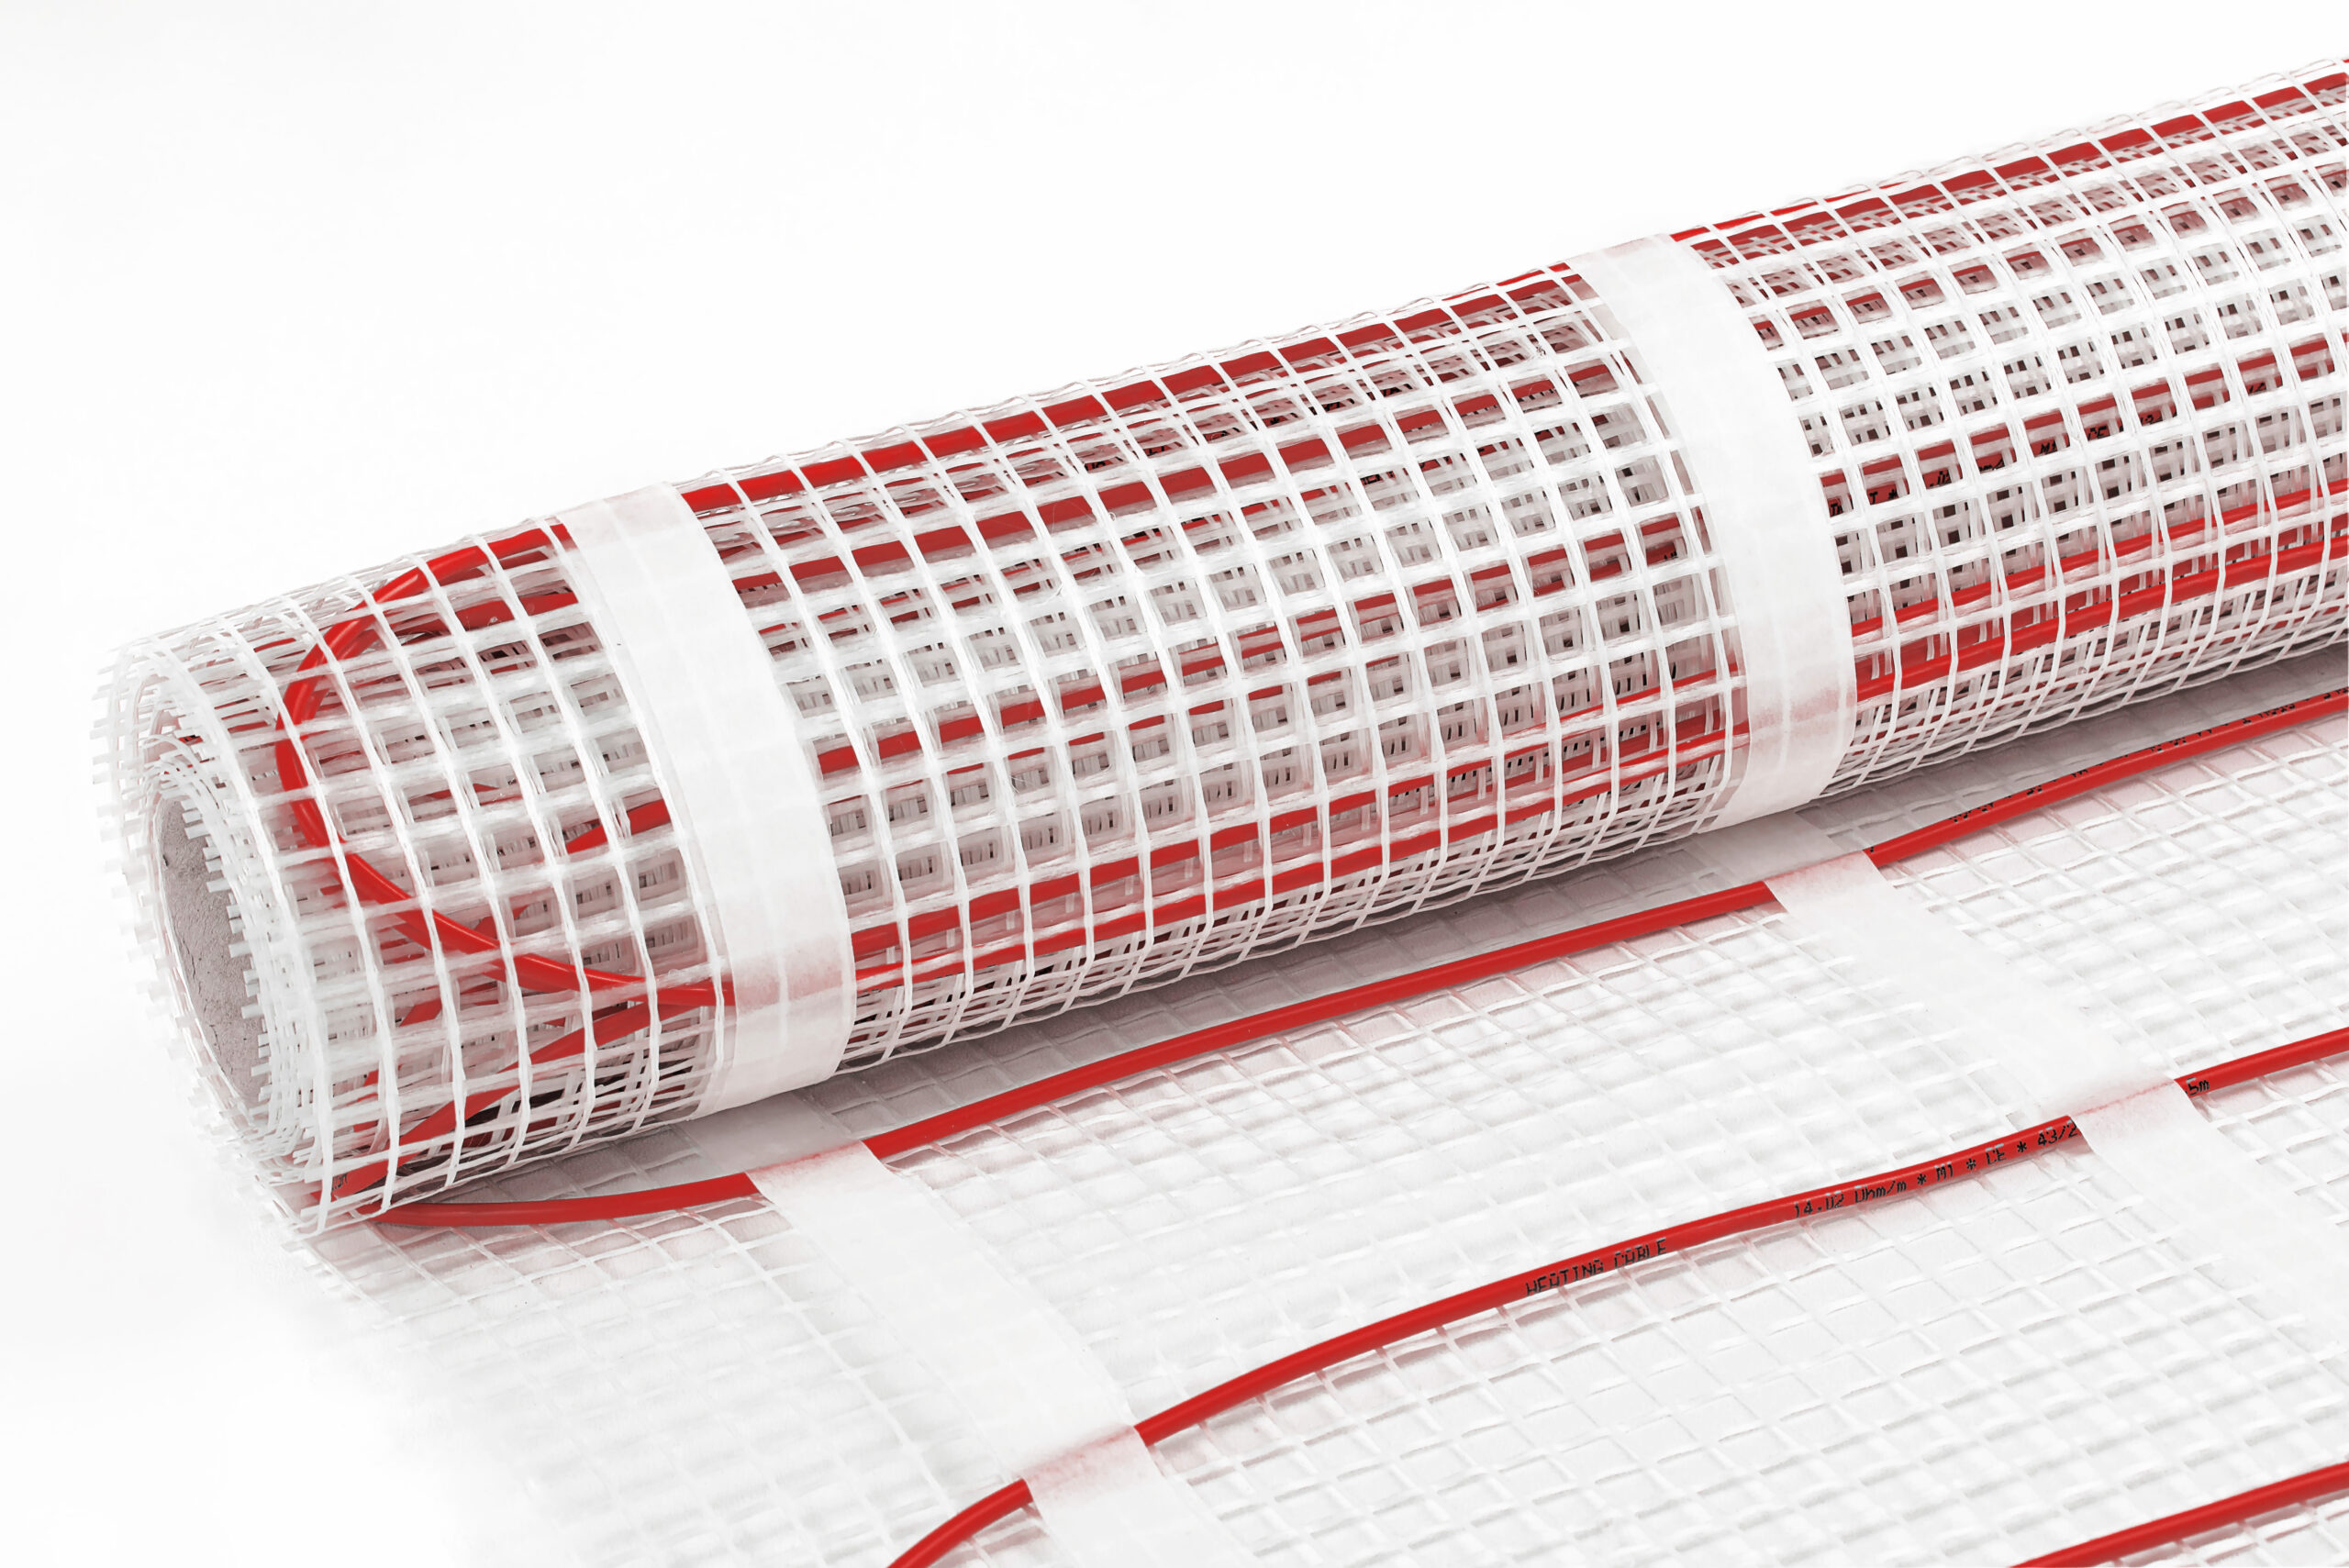
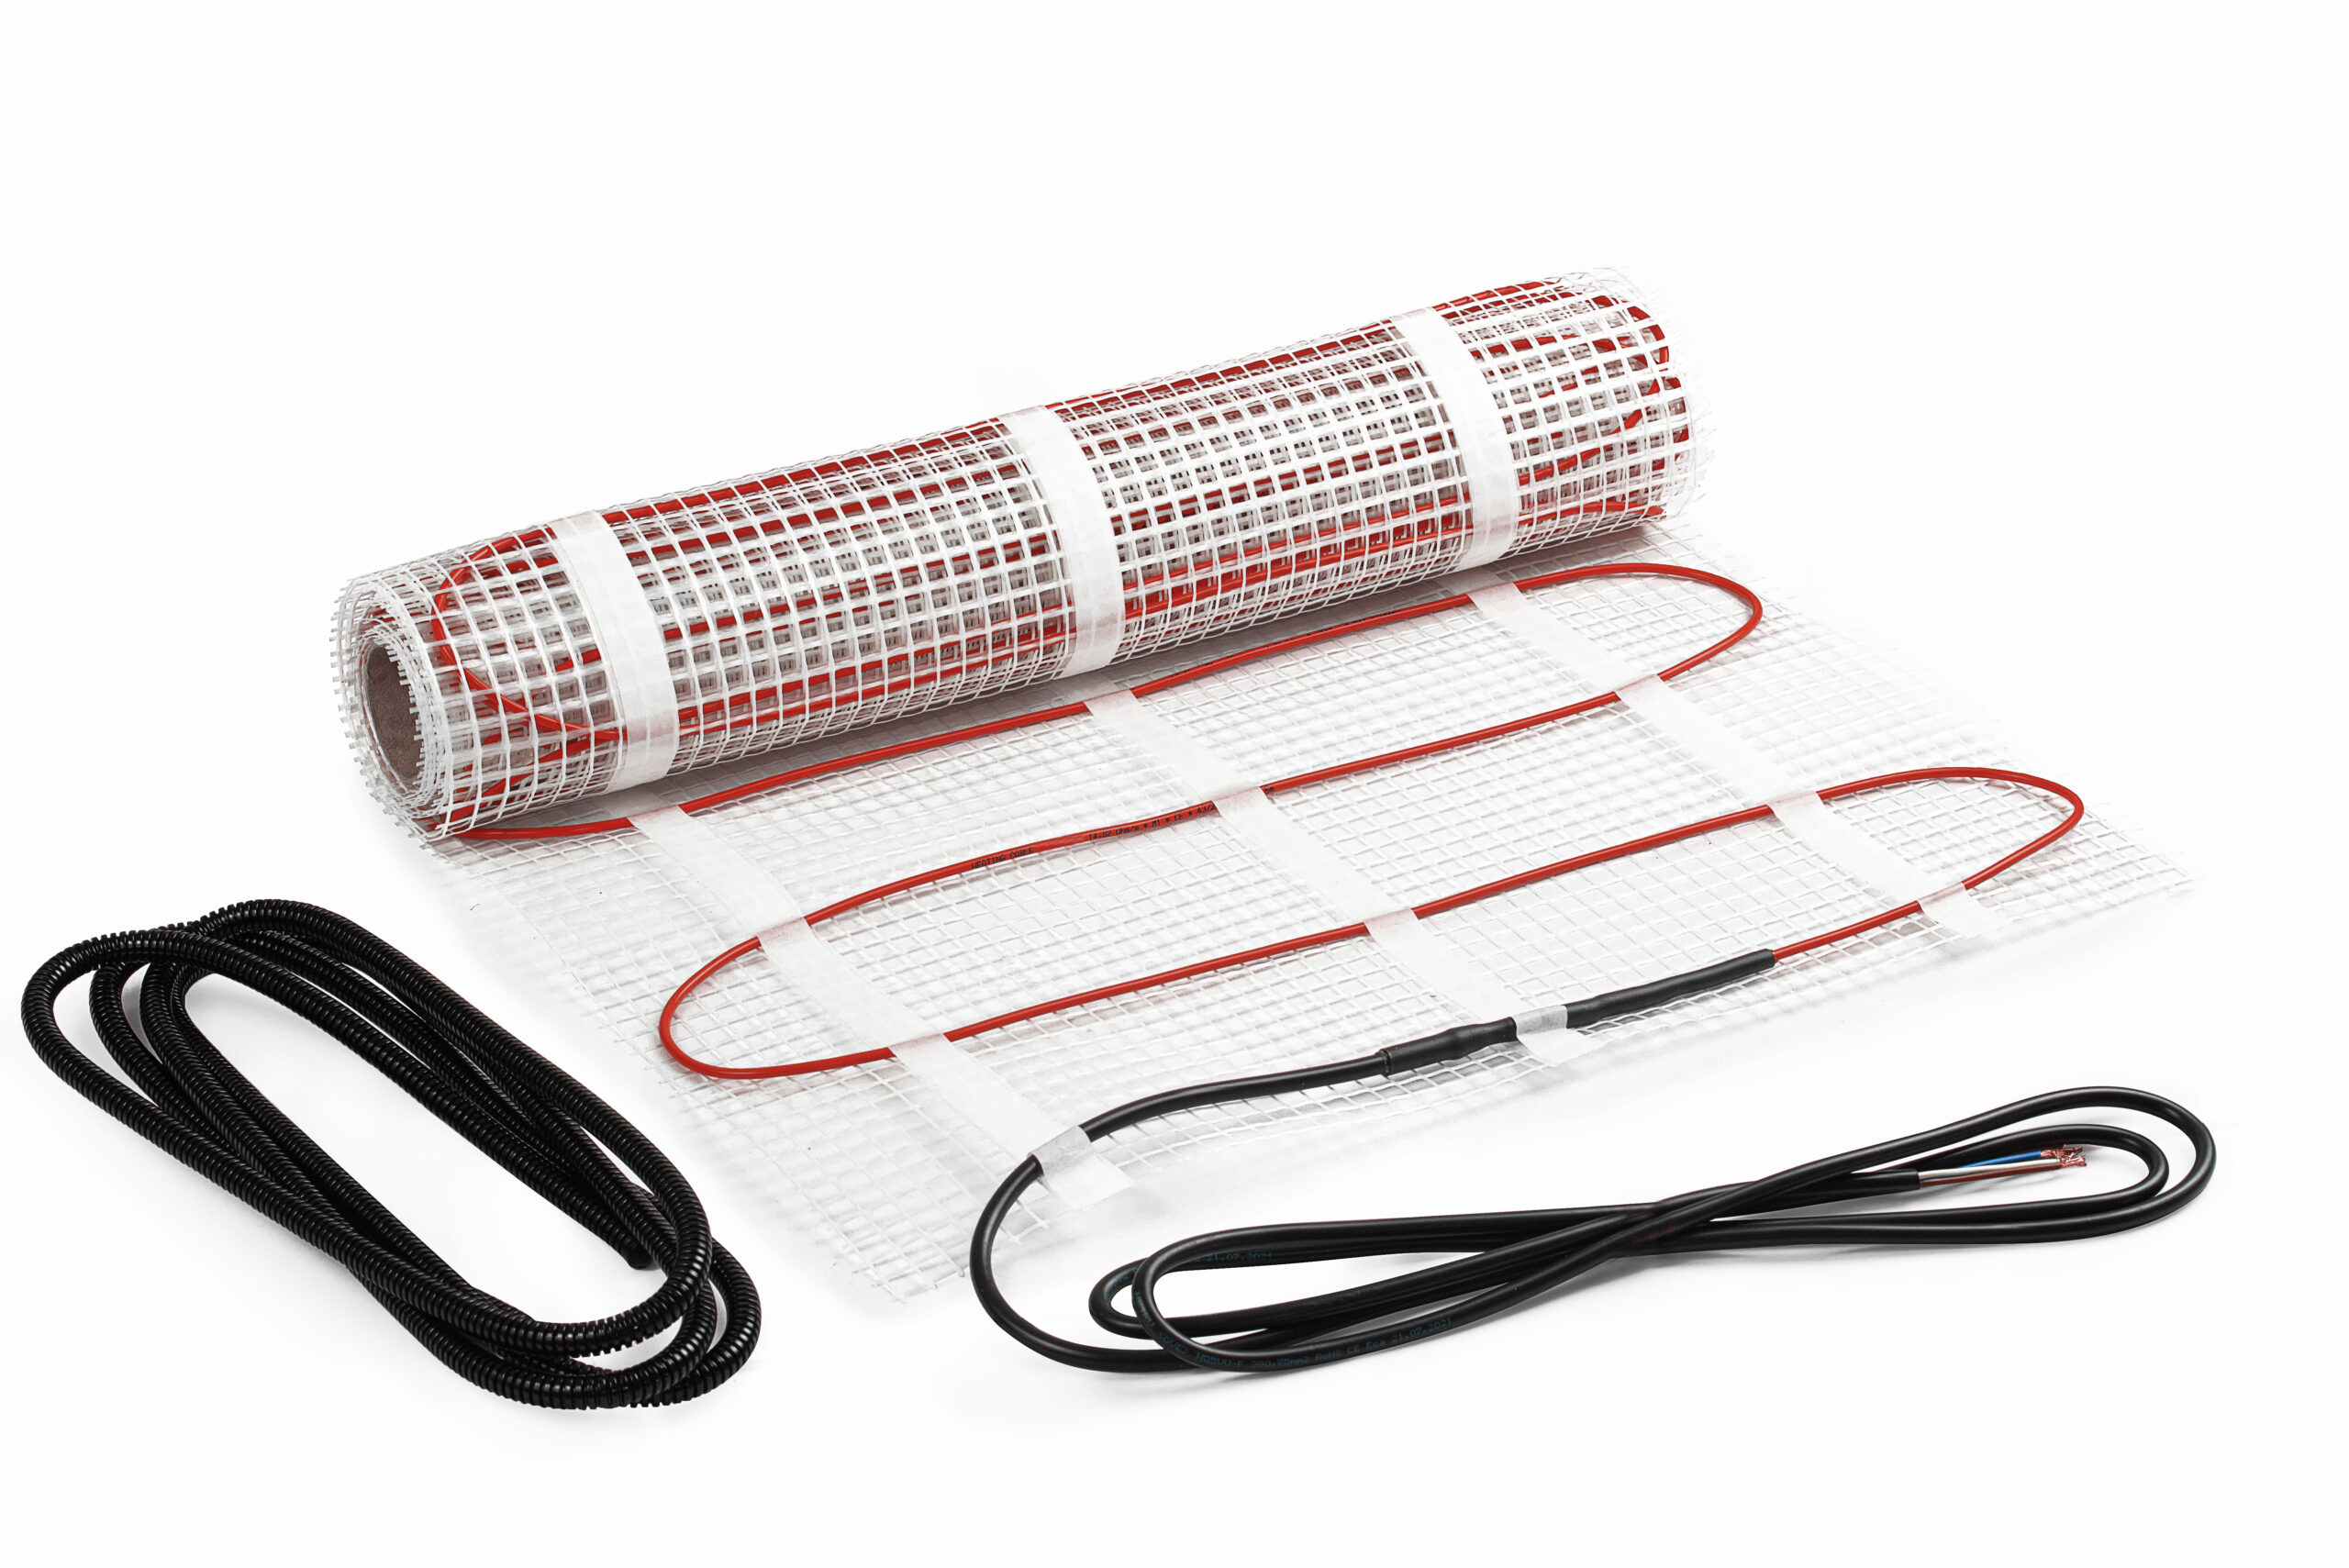
Underfloor heating HILOmat 100, 4m², 0.5×8m, 400W, 230V

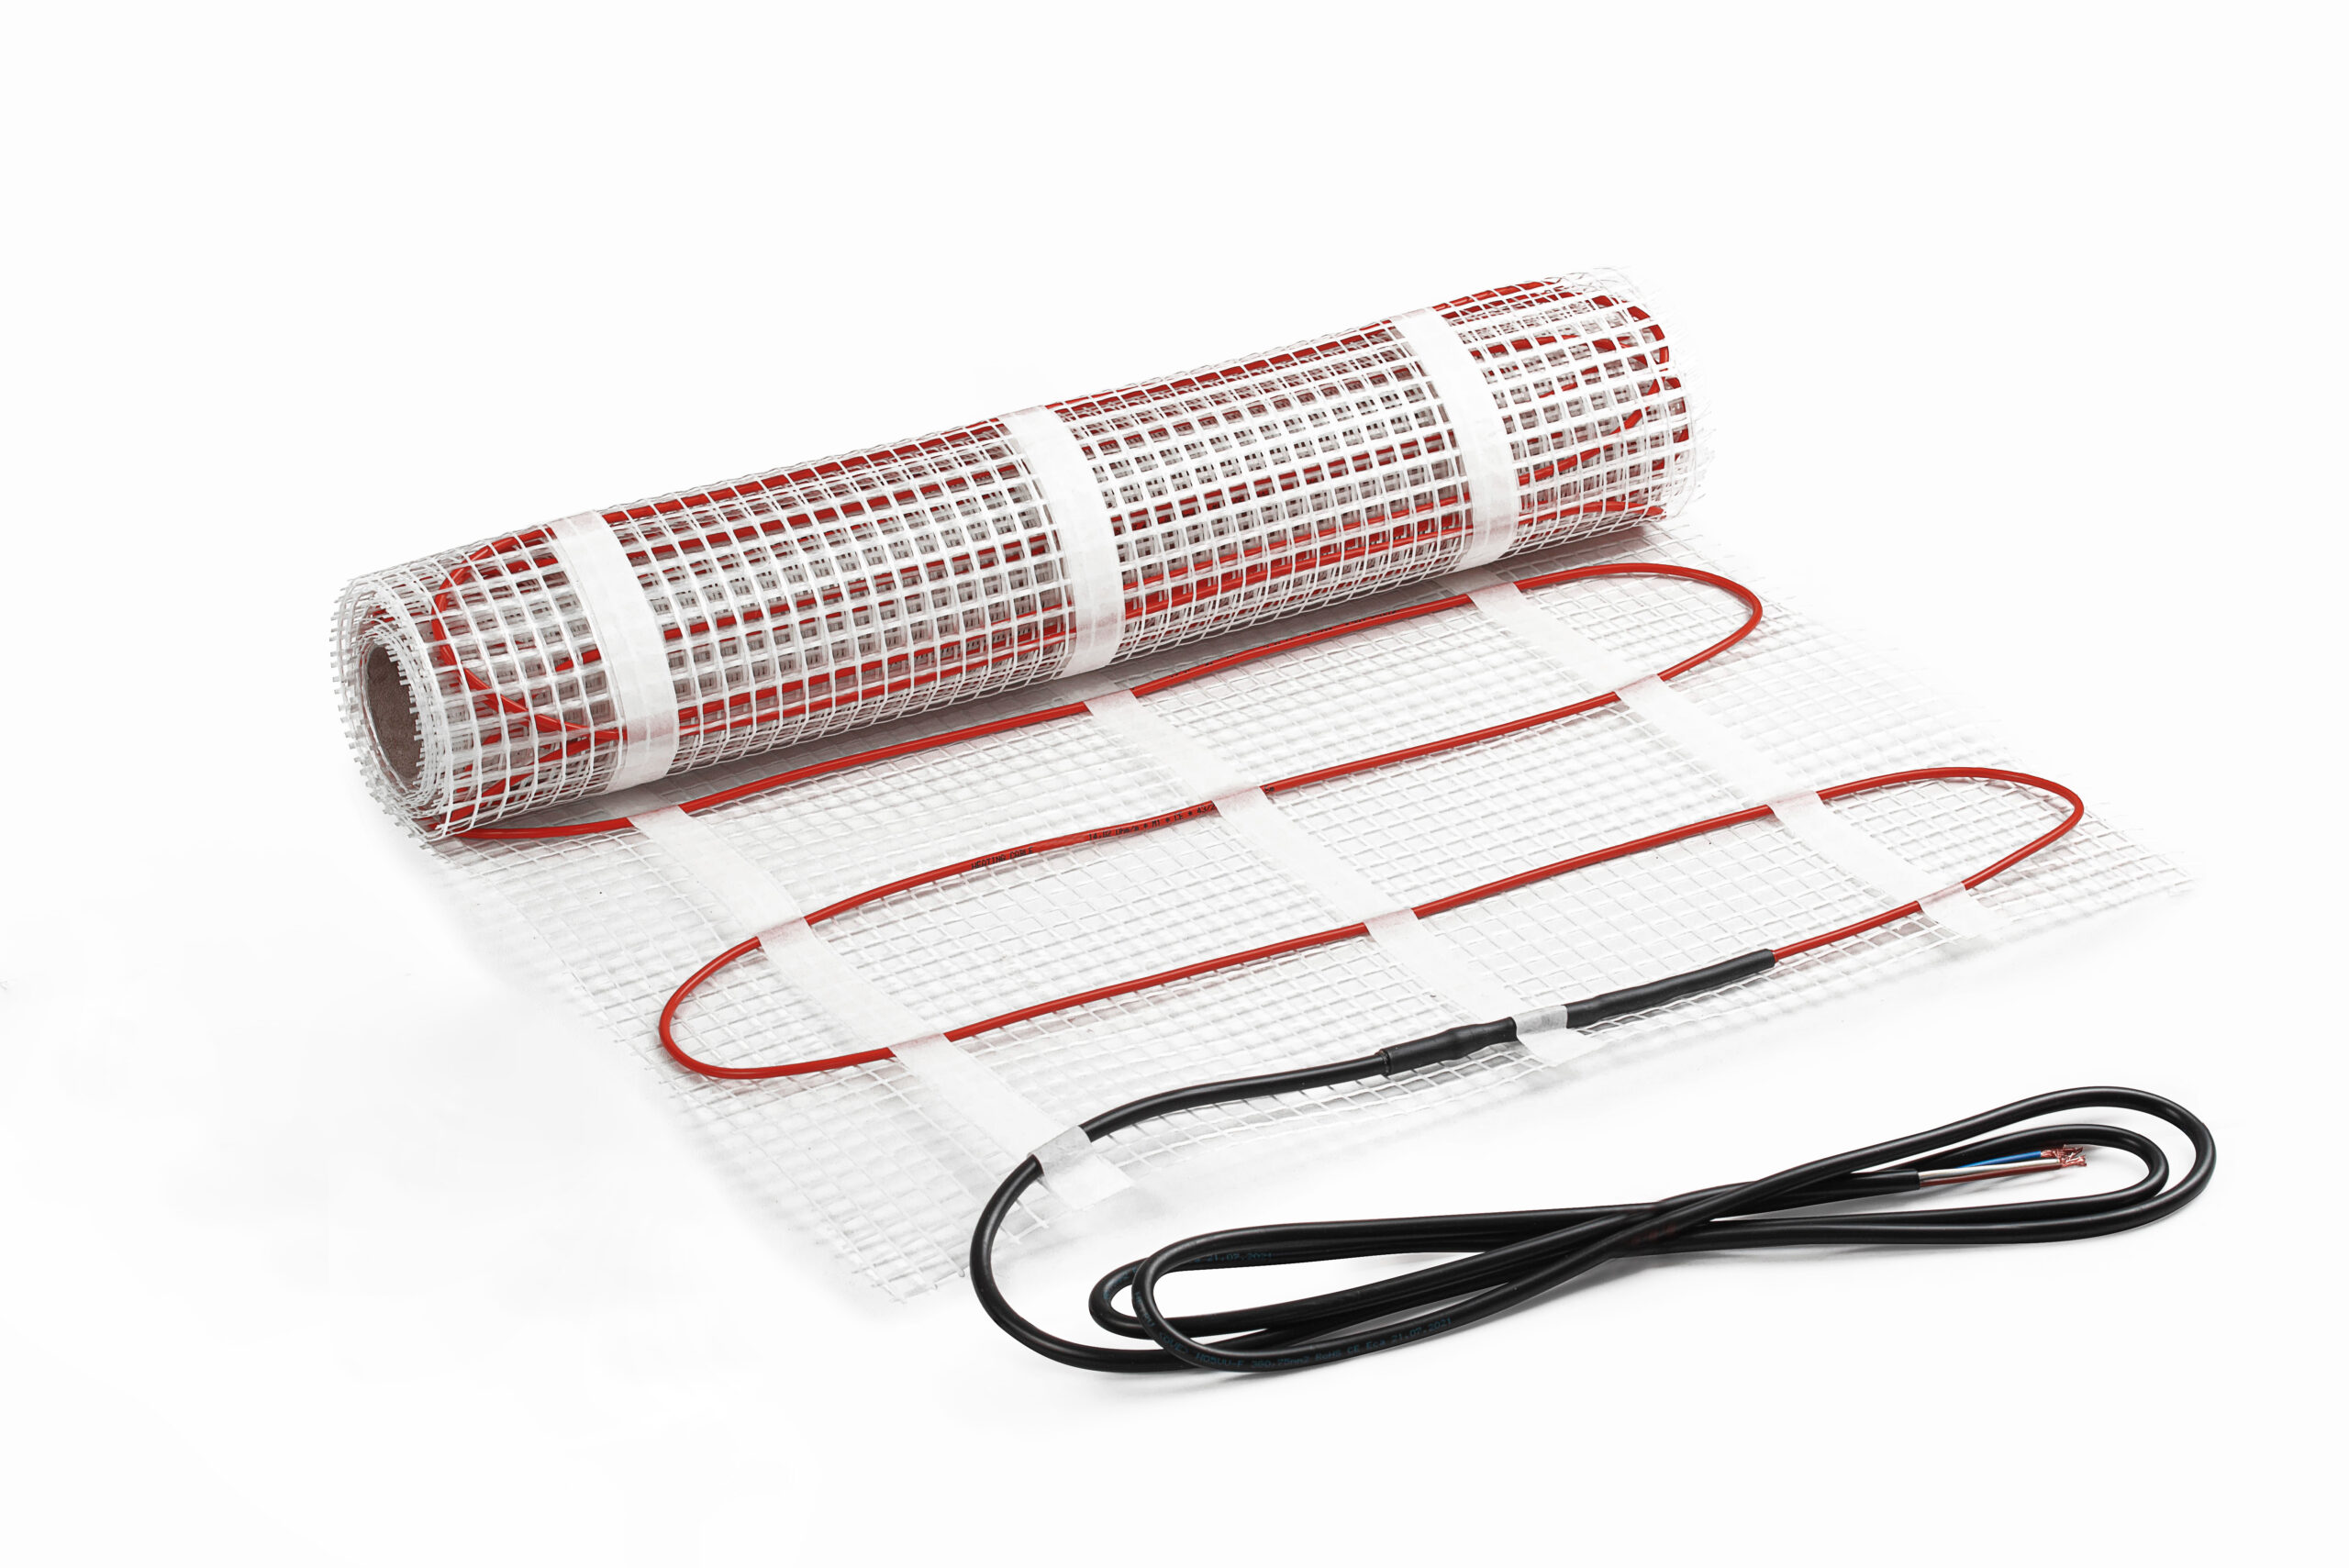
HILOmat 100 is a very thin twin conductor underfloor heating mat of 100 W/m2 output with one connection cable, providing Quick & Easy installation. It is suitable where the floor level height should be minimised as much as possible. This is the ideal solution for all types of floors, whether it is new or renovated. It is one of the best solutions for underfloor heating installation of A and A+ energy class houses.

  • Very thin mat – only 3.2 mm thickness. Does not increase floor level.
  • 12 years warranty.
  • Free item included – corrugated pipe for floor sensor.

Made by Scandinavian traditions

Category:

Description

HILOmat 100 is a high-quality underfloor heating mat made by Scandinavian traditions, combining the best innovations and environment-friendly design. The heating mat ensures high reliability with innovative high-temperature resistant twin conductors insulation, making it durable. In addition, it is energy-efficient and delivers comfort with a quick heat up and even floor heat distribution.
HILOmat 100 can be directly laid on concrete or old tiles in the bathroom, kitchen, hall, living room, children room, bedroom, and other premises under tiles, marble, wood flooring boards, laminate, carpet and vinyl flooring. The heating mat is easily layed around any area or floor layout. With a twin conductor underfloor heating mat, you can enjoy the ideal microclimate of the room and a healthier environment. Electrical underfloor heating minimises dust circulated in the rooms and reduces possible allergens effect.
With a one-point power cable connection, the installation is simplified and much faster. You will complete the task fast, just with a couple of simple steps. First, easily lay HILOmat 100 on the floor and simply connect it to the thermostat.  Quick heating mat installation, saves your as well as qualified electrical installers time, so your installation bill is greatly reduced. The heating mat combined with the HILOeco thermostat increases the energy savings and provide pleasant warmth at your home. For your convenience, we have added the gift–corrugated pipe for the thermostat floor sensor.

HILOmat 100 is a maintenance-free and long-lasting system that runs over 30 years. Once installing a HILØ mat, you can forget about maintenance costs and enjoy a warm floor at your home.

HILOmat 100 is designed with its 100% protective aluminium screen and drainage wire, combined with twin conductor mat technology to ensure a better indoor climate. We care about your safety and environment, so we made HILOmat 100 halogen-free. Safe for you and good for the environment.

Shipping
Quick Delivery
Warranty
Quick Order Processing
Returning
Quality Products
Payment
Warranty
Stores
Secure Payment
Stores
Best Prices
Voltage230 V
Output100 W/m²
Thickness of Mat 3,2 mm
Маx. temperature+70 °C
Connection cable1x2 m
Min. installation temperature+5 °C
Conductor insulationFluoropolymer (TPE)
OverjacketPolyvinyl chloride (PVC)
Protection class IP67
Width of Mat50 cm
Warranty12 year
TypeWidth × Length (m)Area (m²)Output (W)Order No.
HILOmat-1000,5×31,515090000011
HILOmat-1000,5×4220090000012
HILOmat-1000,5×6330090000013
HILOmat-1000,5×8440090000014
HILOmat-1000,5×10550090000015
HILOmat-1000,5×12660090000016
HILOmat-1000,5×14770090000017
HILOmat-1000,5×16880090000018
HILOmat-1000,5×18990090000019
HILOmat-1000,5×2010100090000020

HILOmat is easy to install in a new or renovated house and apartment. Please note. A qualified electrician should carry out all electrical works.

Step 1. Measure the floor area free from furniture or equipment for a HILOmat installation. The HILOmat should be slightly smaller than the measured heating area (m2). Do not install the HILOmat under the bathroom equipment (toilets, showers)or furniture avoiding HILOmat damage during bathroom equipment installation.

Step 2. Make a channel (10×10 mm) in the floor and wall towards the thermostat connection box. Insert the thermostat sensor into a corrugated pipe, seal the end of the corrugated pipe and place it in the channel.

Step 3. Clean the floor, check the resistance of HILOmat. HILOmat resistance must be the same as indicated on the label, then install the HILOmat.

Step 4. Lay the HILOmat from the wall and move towards the opposite wall. To turn and go back, cut the HILOmat mesh, do not cut the RED cable. Repeat it until the entire floor surface is covered with HILOmat.

Step 5. Turn the HILOmat around obstacles by loosening the RED heating cable from the mesh. Do not damage the RED cable!

Step 6. Two options for glueing the tiles on top of the installed HILOmat: apply tile adhesive and glue the tiles or cover the HILOmat with a self-levelling compound, let it dry and then glue the tiles.

No. Do not trim the HILOmat cable, as the resistance of the heating mat will change, the raised power will overheat and damage the HILOmat. Therefore, it is essential to measure the heated area accurately. The HILOmat should be installed in the free floor area, excluding the bathroom furniture and equipment. Please select the HILOmat size equal or smaller to the measured free floor area. Contact your HILO Heat representative if you have any questions.

The HILOmats should be installed where both HILOmats power cables are connected to the thermostat’s installation box. The total power of heating mats should not exceed 16A or 3.2 kW.

The power cables are colour marked. Connect cables of the same colour (brown to brown, blue to blue), and then connect the thermostat. The protective (braided) screen of HILOmat should be connected with another protective screen via clamp; then connect it to a power cable (yellow-green).

HILO Heat does not recommend installing HILOmats under the toilet, bins, bath and shower base or kitchen cabinets. Furniture and bathroom equipment reduce the heat transfer. In addition, heating installed under the toilet bins often results in an undesirable odour.

The width of the HILOmat is 50 cm, and we recommend installing them side by side.

The heating cable end termination (end seal) is the connection of two heating cable conductors.

Yes. HILOmat 150 can be installed on the USB board.

Before installing the HILOmat, apply a thin layer of tile adhesive on the USB board. Then install the HILOmat 150 and glue the tiles.

Yes. HILOmat 100 can be installed on old tiles. Before installing the HILOmat, clean well and degrease the old tiles.

Thermal insulation is required on the base of the floor if it was not installed during construction. Thermal insulation is not needed when floor heating is installed on the second or other levels of the residential house.

Do not trim the HILOmat cable! The extra length of HILOmat should be installed in the free space of a room. Release the RED heating cable from the mesh and place it on the free floor area next to the HILOmat. Note that cutting or crossing the RED HILOmat cable is strictly forbidden.

Replace the HILOmat with a smaller size HILOmat. It is strictly prohibited to cut and shorten the HILOmat heating cable.

When installing the HILOmat, keep the minimum distance of 5-10 cm from the wall.

A qualified electrician can repair the HILOmat.

The HILOmats for indoor heating is not suitable for outdoor use.

Outdoor heating mats for ice and snow melting with an output of 300W / m² are used for outdoor installation.

HILØ HEAT recommends installing HILOmats under different flooring and controlling them with two separate thermostats.

The floor surface should be clean, free of dust and sharp things. Floor priming is not necessary, but it improves the adhesion of the HILOmat to the floor surface.