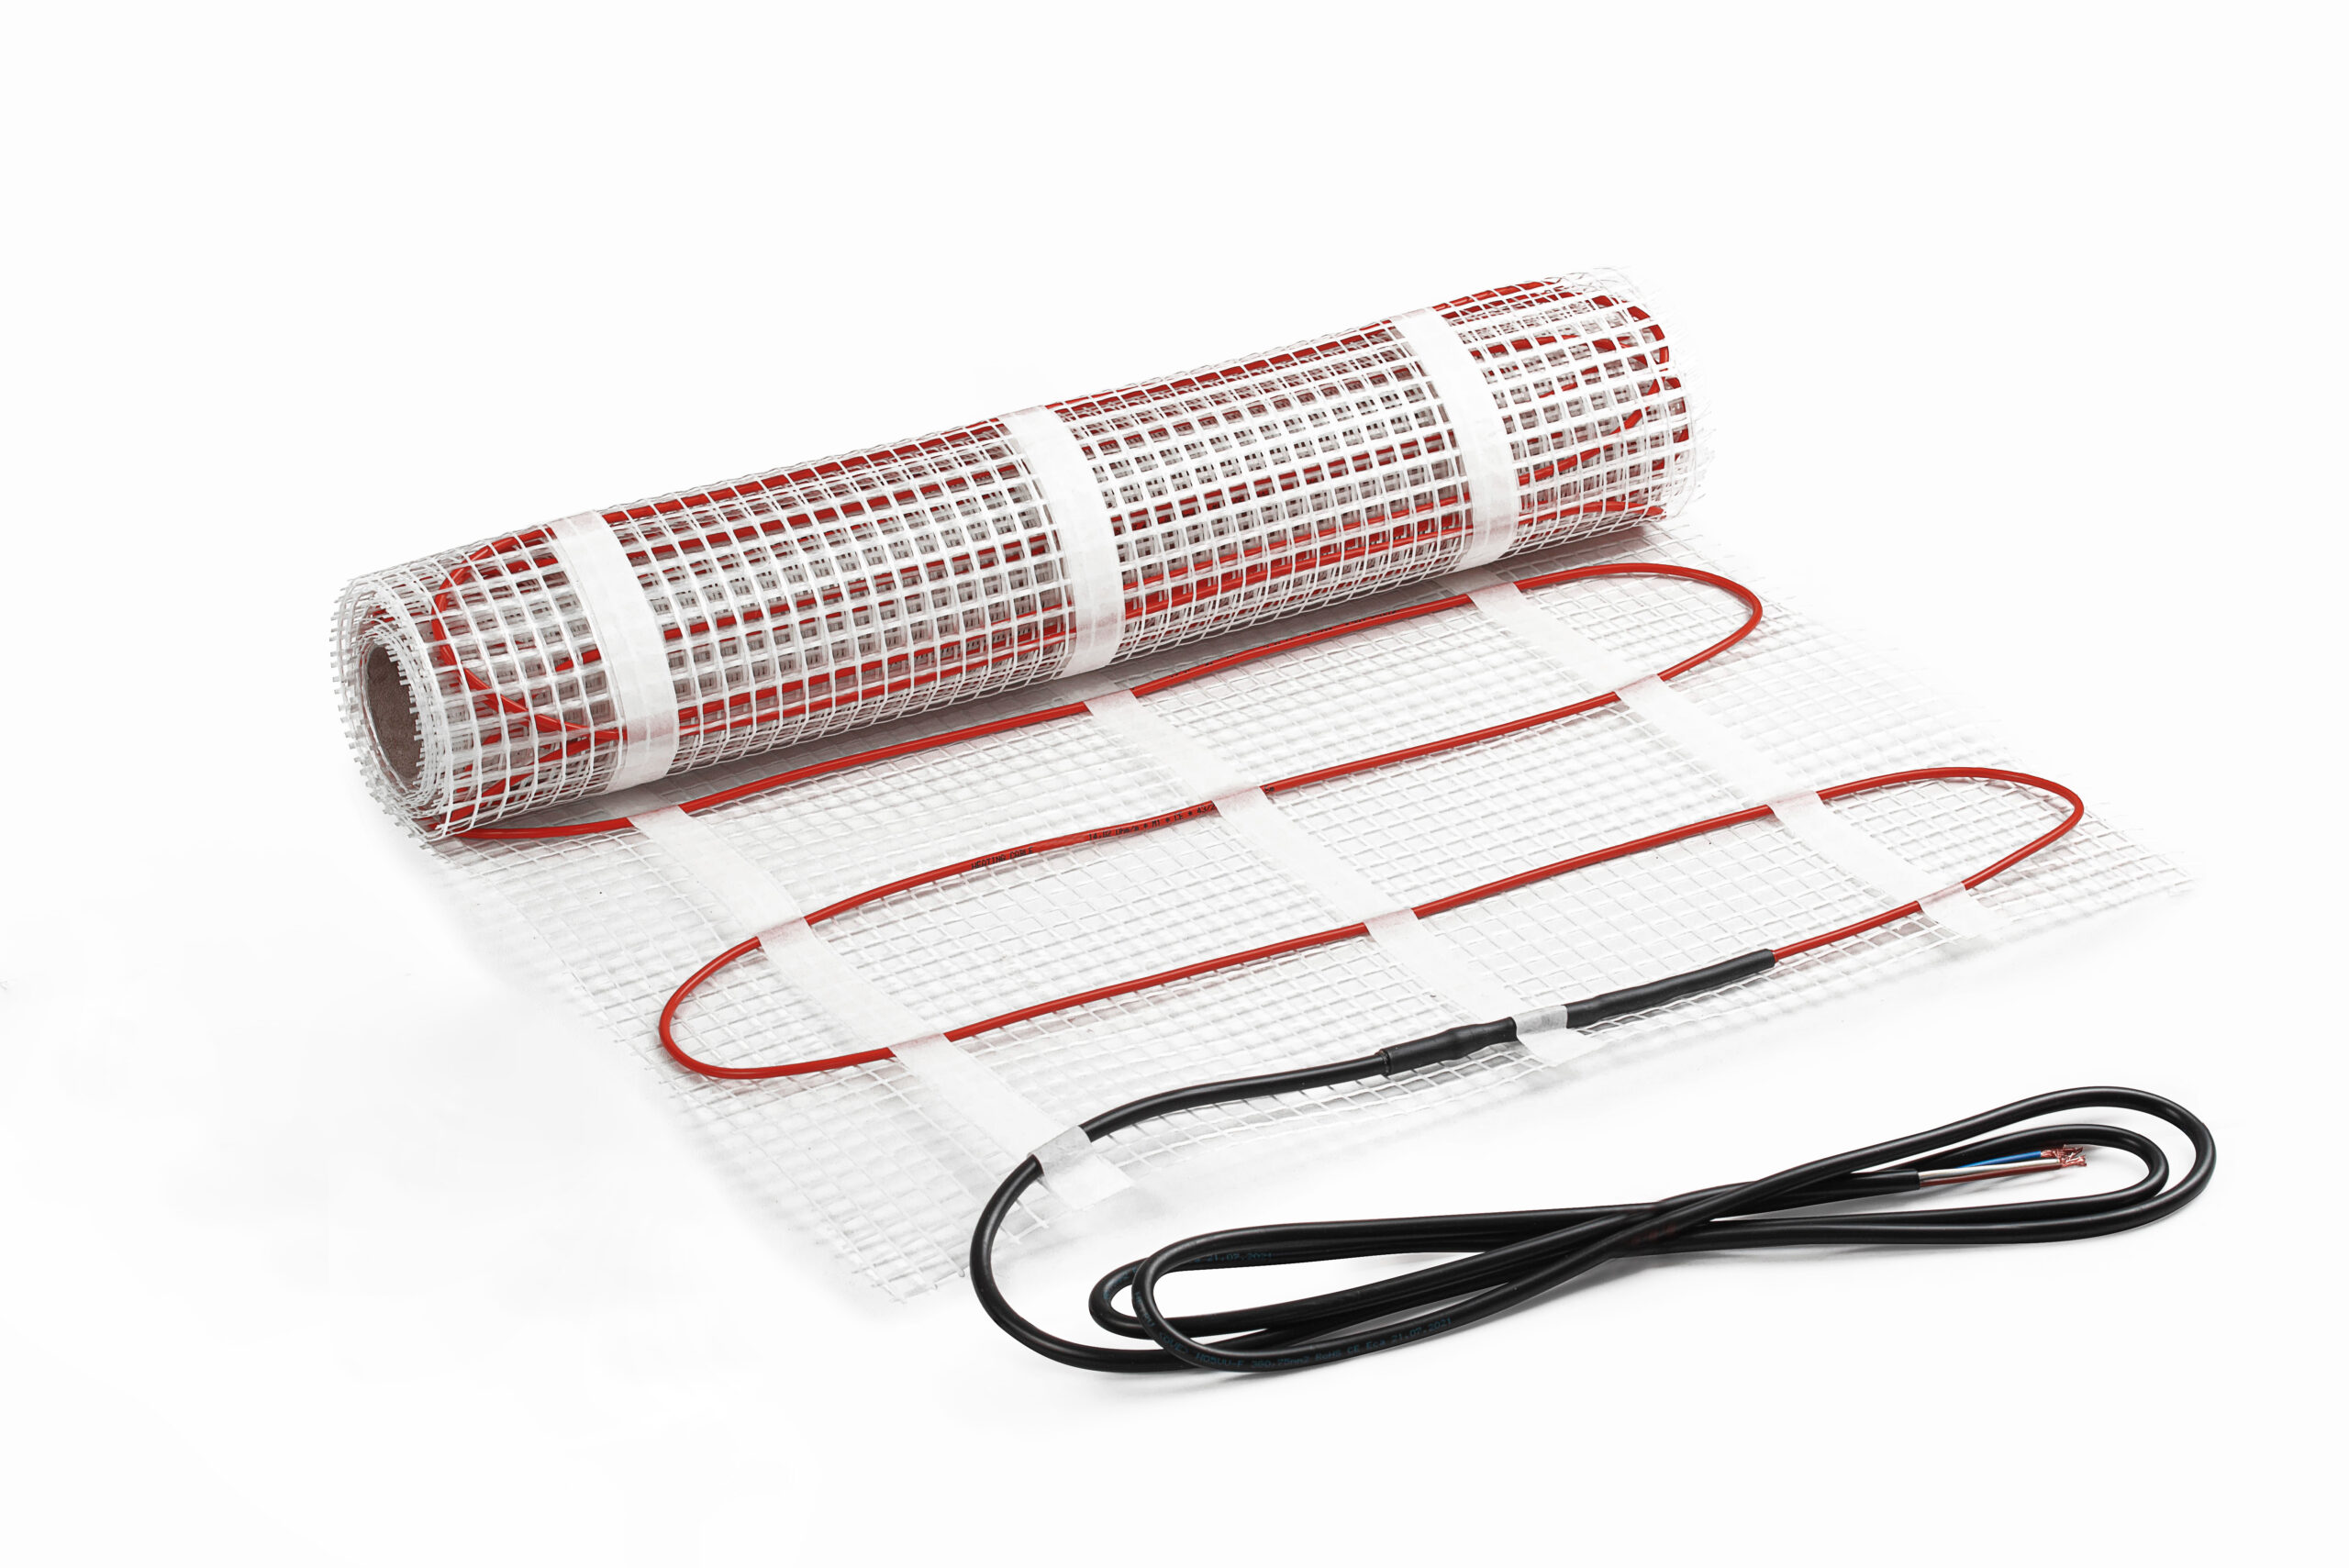
Step 1. Measure the floor area free from furniture or equipment for a HILOmat installation. The HILOmat should be slightly smaller than the measured heating area (m2). Do not install the HILOmat under the bathroom equipment (toilets, showers)or furniture avoiding HILOmat damage during bathroom equipment installation.
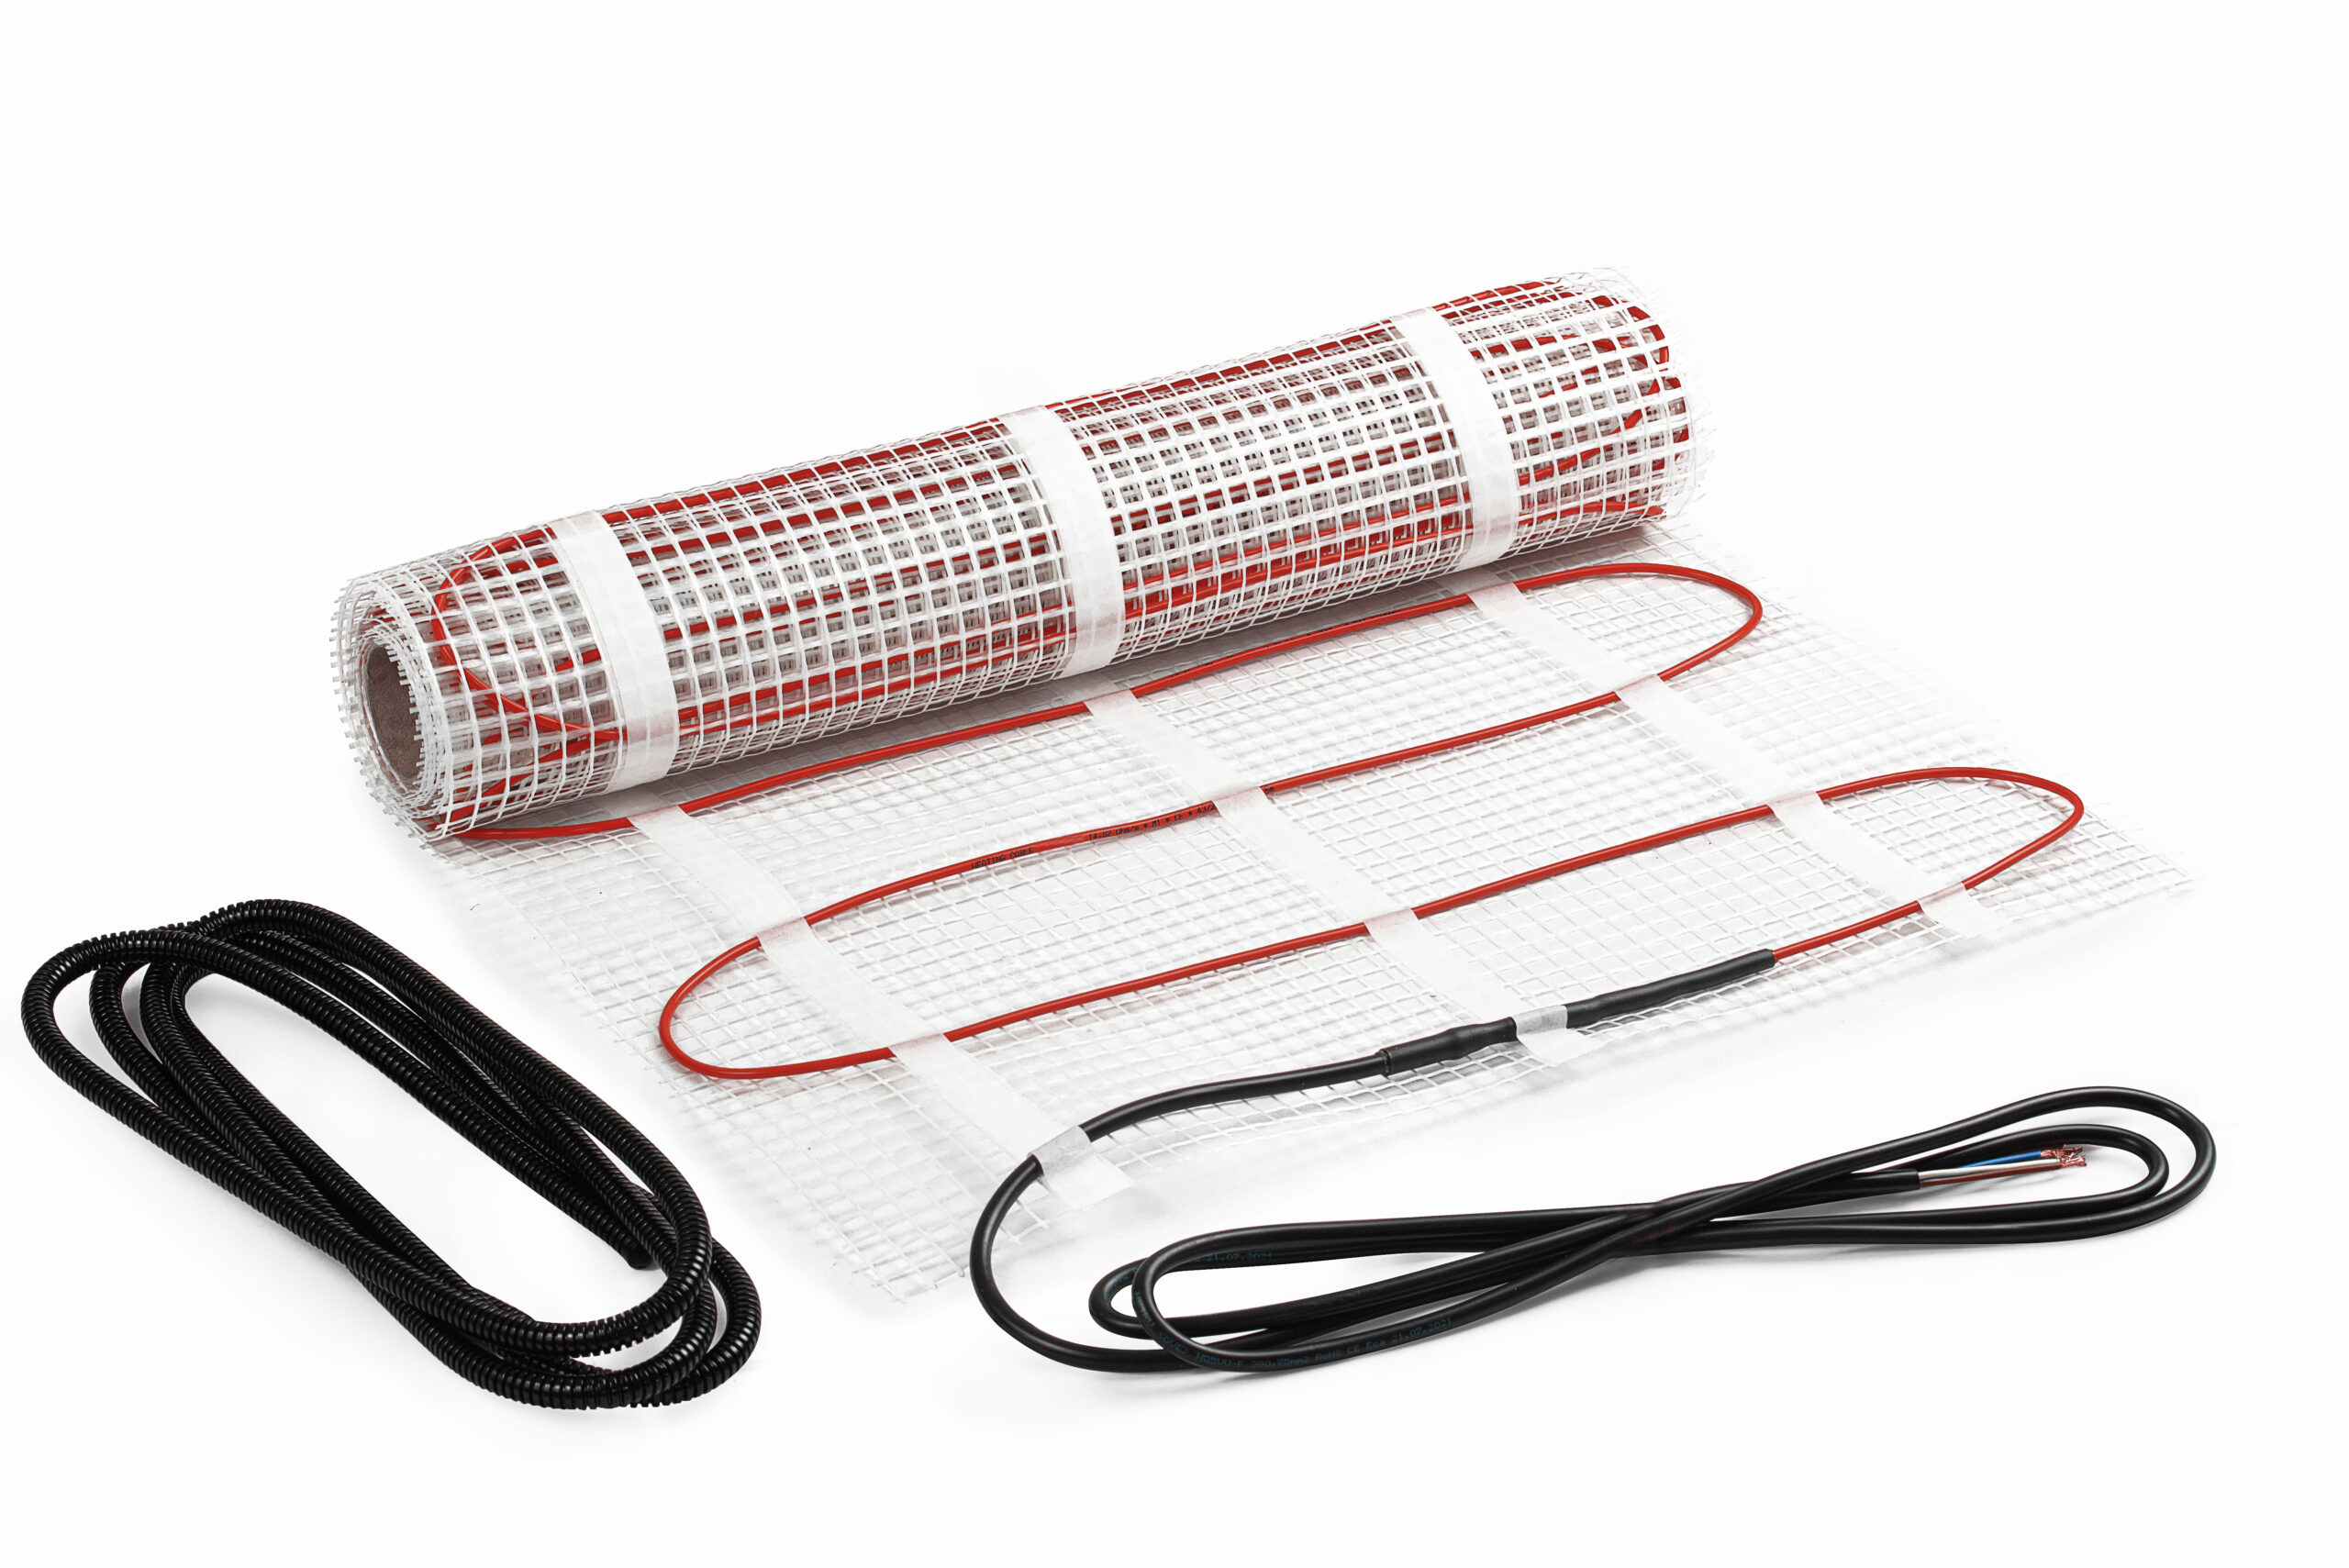
Step 2. Make a channel (10×10 mm) in the floor and wall towards the thermostat connection box. Insert the thermostat sensor into a corrugated pipe, seal the end of the corrugated pipe and place it in the channel.
Step 3. Clean the floor, check the resistance of HILOmat. HILOmat resistance must be the same as indicated on the label, then install the HILOmat.
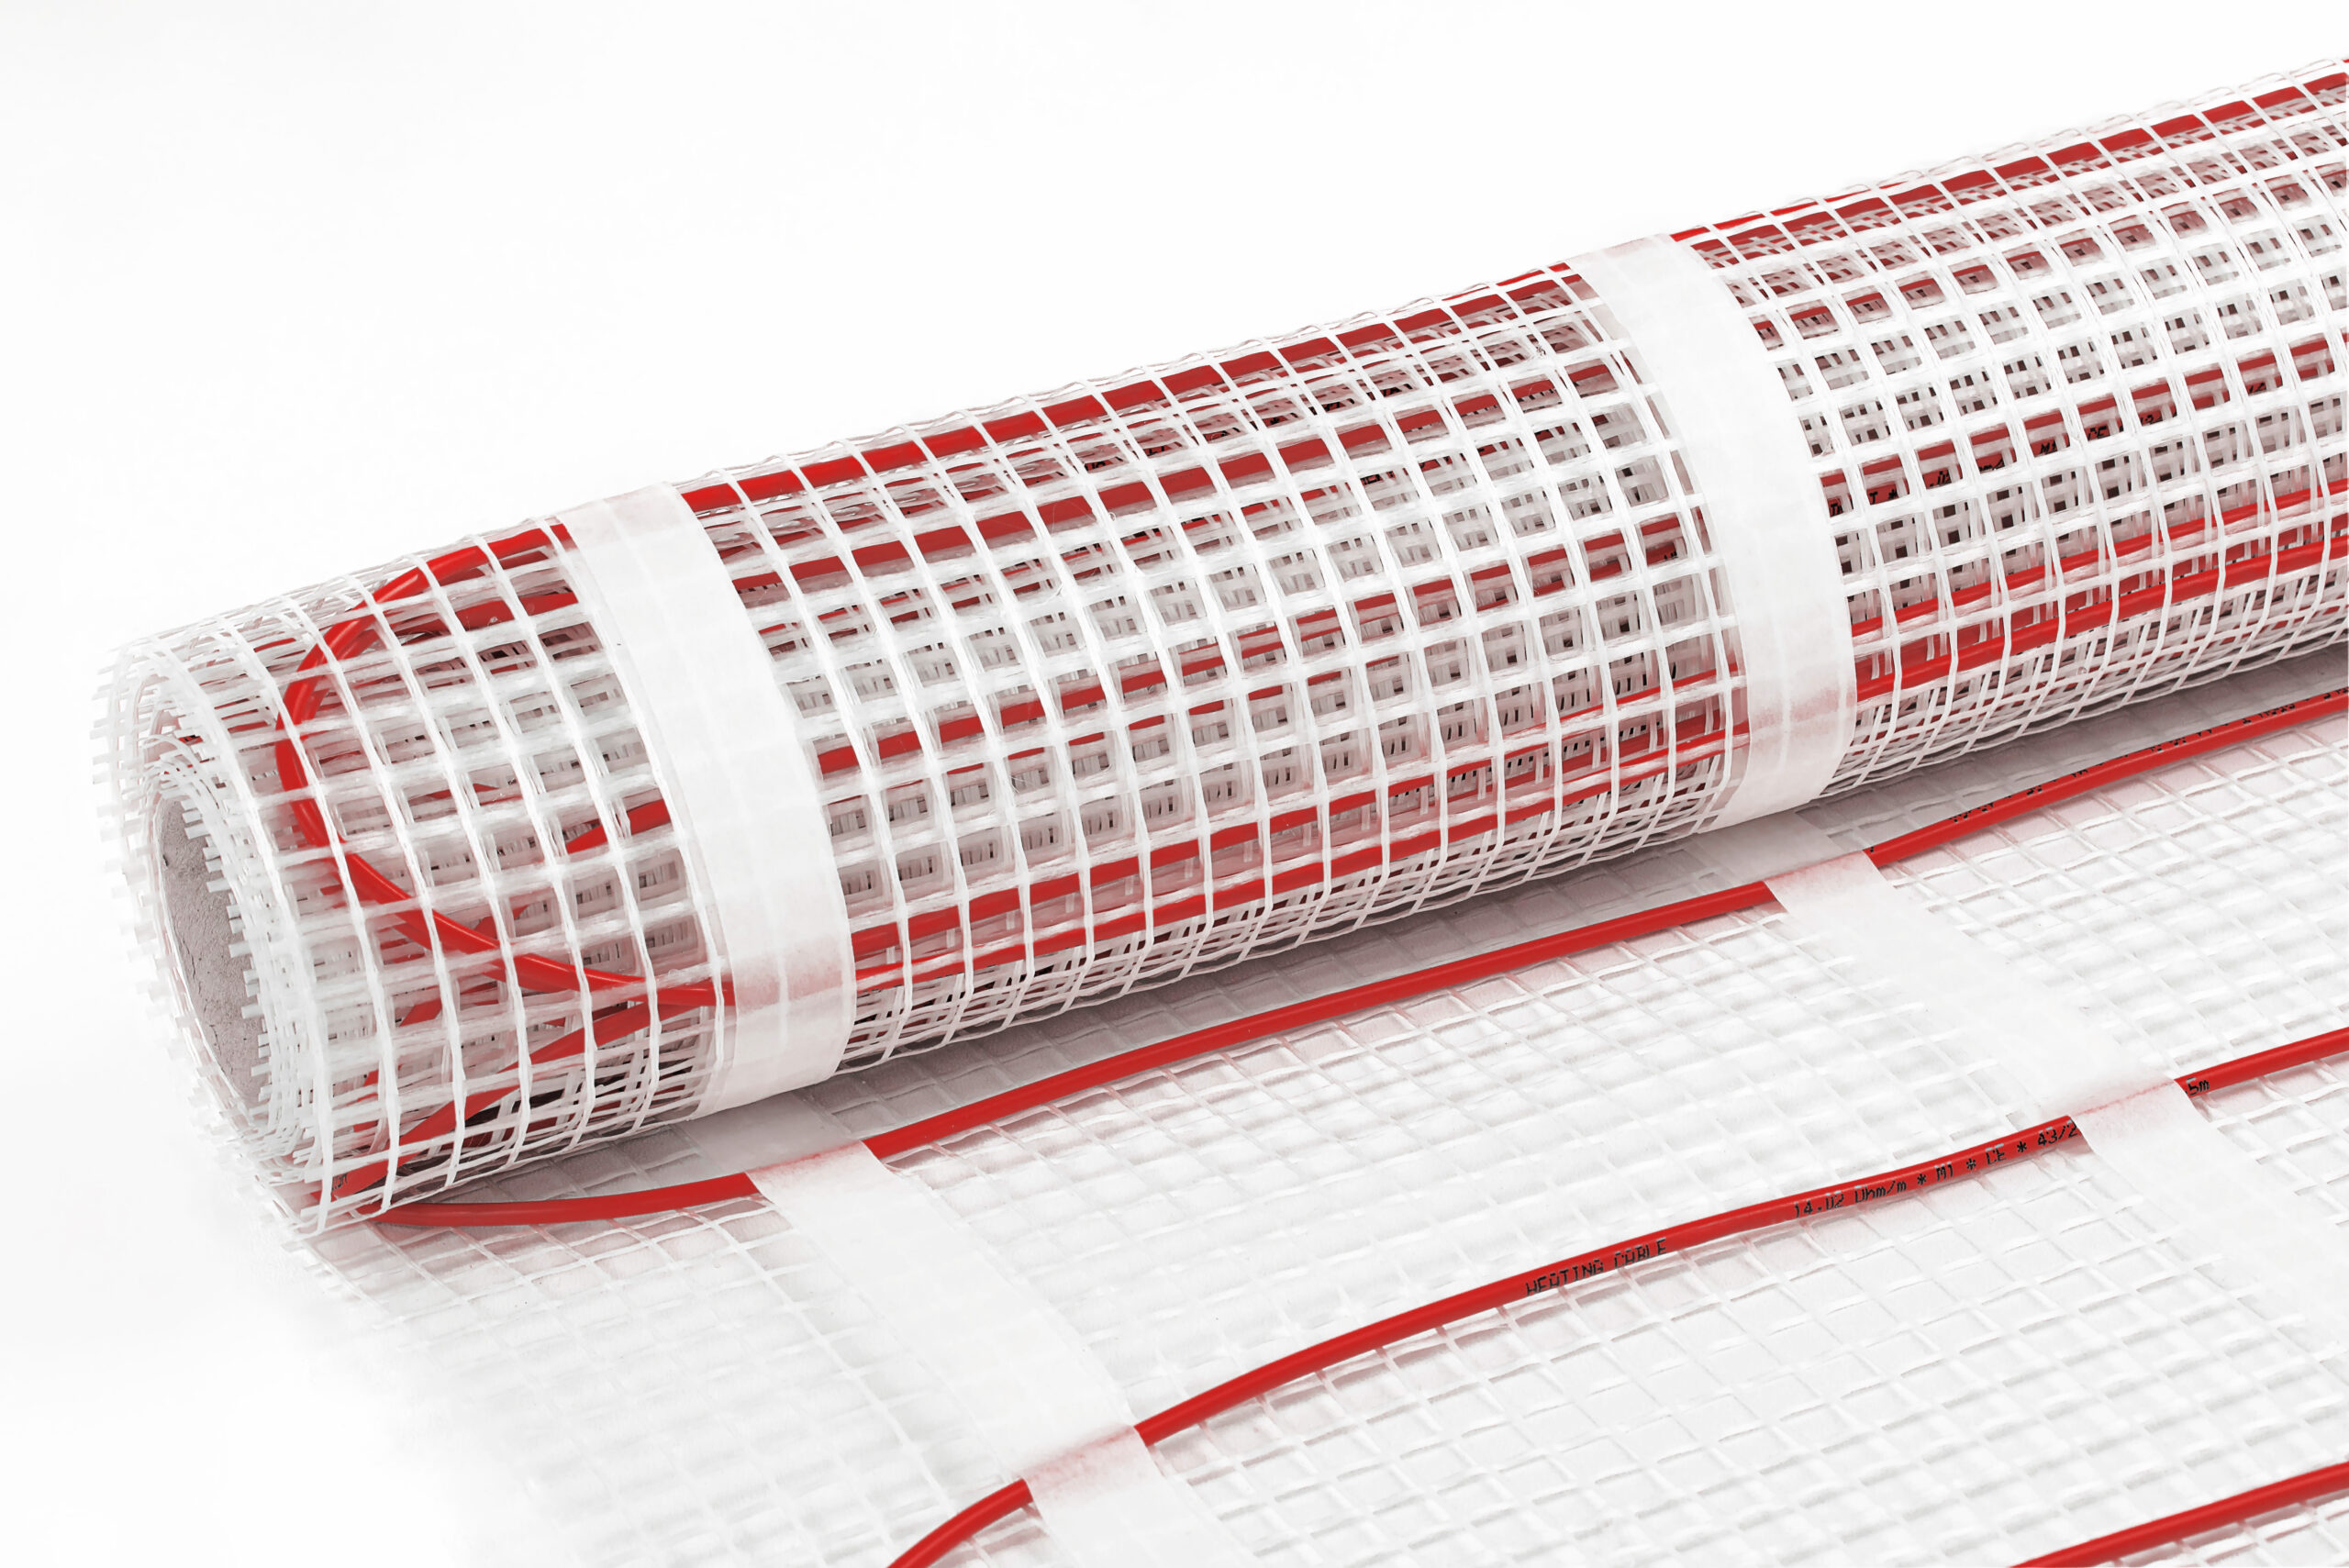
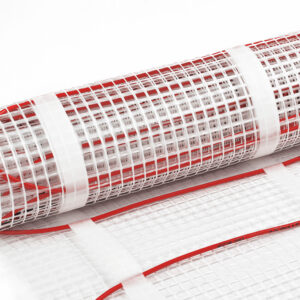
Step 4. Lay the HILOmat from the wall and move towards the opposite wall. To turn and go back, cut the HILOmat mesh, do not cut the RED cable. Repeat it until the entire floor surface is covered with HILOmat.
Step 5. Turn the HILOmat around obstacles by loosening the RED heating cable from the mesh. Do not damage the RED cable!
Step 6. Two options for glueing the tiles on top of the installed HILOmat: apply tile adhesive and glue the tiles or cover the HILOmat with a self-levelling compound, let it dry and then glue the tiles.

